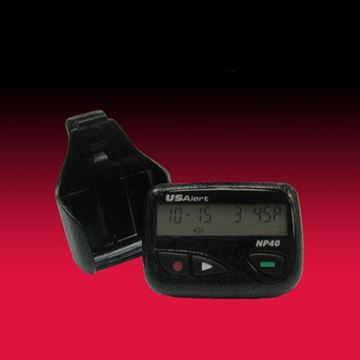
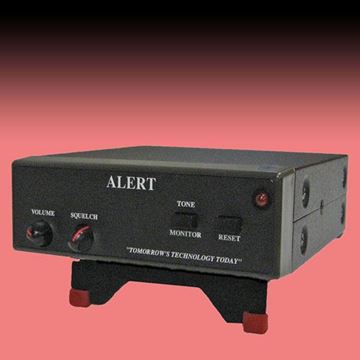
The USAlert NP40 Numeric Pager Programmer consists of the programming fixture (labeled UB-07), the programming software (J7 for the NP40), and a USB cable. The programming software is also used with the USAlert Alpha 2 (J25) and NP35 (J8) pagers.
To program an NP40 pager, install and run the latest programming software. The programmer screen displays three sections labeled Step 1, Step 2, and Step 3. Connect the USB cable to an operational USB computer port and also to the programming fixture. The green power LED on the fixture next to the USB connection should light. If you don’t get a green power light, check your computer’s USB configuration, try another USB port, another USB cable, or another computer.
The programmer screen should display “J7 Programmer” in Step 1 under <Configure Offline> a few seconds after connecting the USB cable to the fixture. You must click on “J7 Programmer” in Step 1 to select the correct device to program. Step 2 should then change to display “J7”. If Steps 1 and 2 are displaying correctly, press the “Configure” button in Step 3 to begin programming. The initial programming screen should display and show “USB programmer connected” at the bottom left of the screen. A “NO PAGER” display next to it indicates the pager has not yet been inserted into the fixture.
The programming connections for the NP40 pager are in the battery compartment. Remove the battery door and the battery if present, and position the pager over the seven programming pins in the fixture. Press down firmly until the “Write” and “Read” buttons of the programming software become active. The “NO PAGER” indication also changes to “PAGER INSERTED”. Hold the pager in place to perform the programming.

