Search
Filters
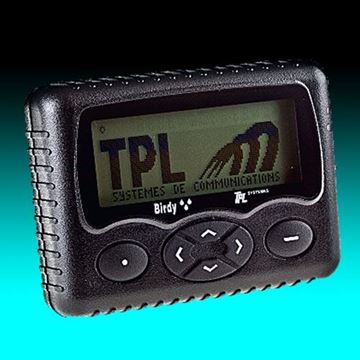
The TPL Birdy WP Belt Clip is a standard accessory that is shipped with each Birdy WP POCSAG Pager and Birdy WP FLEX Pager. (Note: The Birdy WP ATEX intrinsically-safe POCSAG version ships with a clear plastic holster instead.)
Manufacturer: TPL
Call for pricing

** Contact the office to order this product.

The light-weight and detachable Belt Clip is made of the same durable plastic material as the WP Pager housing. The spring-loaded clip holds the pager securely to a belt, but can also be easily removed by the user to view a message. If damaged or lost, replacement belt clips are available.

To detach the belt clip from the pager, find the small plastic horizontal tab located about ½ inch from the bottom of the clip on the right side. Lift the tab slightly while simultaneously pushing the top left of the clip with your thumb. The belt clip should slide to the right and detach.

To attach a WP belt clip to the back of a pager, line up the rectangular-looking plastic piece near the top of the belt clip with the cutout area at the top right of the pager. There is a corresponding rectangular piece at the bottom of the belt clip and a cutout area at the bottom right of the pager. Once inserted into the slots, move the belt clip to the left until it “clicks” into place. To ensure it is locked into place, try pushing the clip to the right. If it doesn’t move, you are locked in. If it does move, repeat the step above until it “clicks” into place and does not move.